| Quick Installation Guide | |
|---|---|
| Safety notes Do not expose the device, line cord, or monitor to rain or moisture. Do not place the device in direct sunlight, near heat sources or air conditioners, or in dusty or dirty environments. Install it as shown in this guide, do not allow anything to close in the ventilation holes. Warning - To prevent damages during the installation, make sure that the device is NOT connected to the electrical outlet and that the display monitor is NOT powered on. |
|
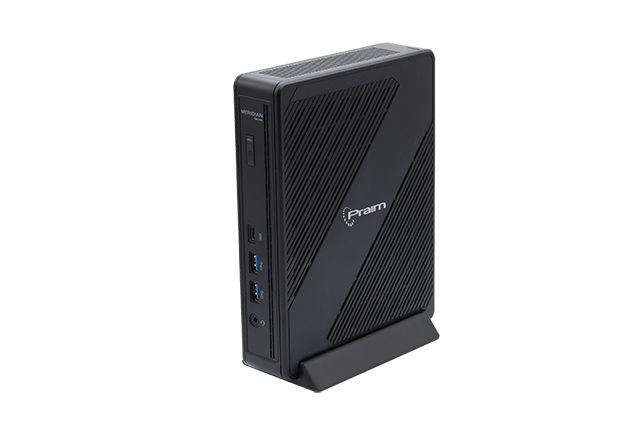
| Vertical installation of the device The device is provided together with its stand foot and can be installed vertically as shown in the right figure. For a better stability, the stand foot can be attached to the bottom using the provided screw. |
|
| Installation on the back of the monitor with VESA bracket The device can be installed on the back of a monitor using the VESA bracket kit (option P/N 80ECS8101). |
|
| This kit includes the standard VESA bracket. Please check options list for the right cable. | |
Device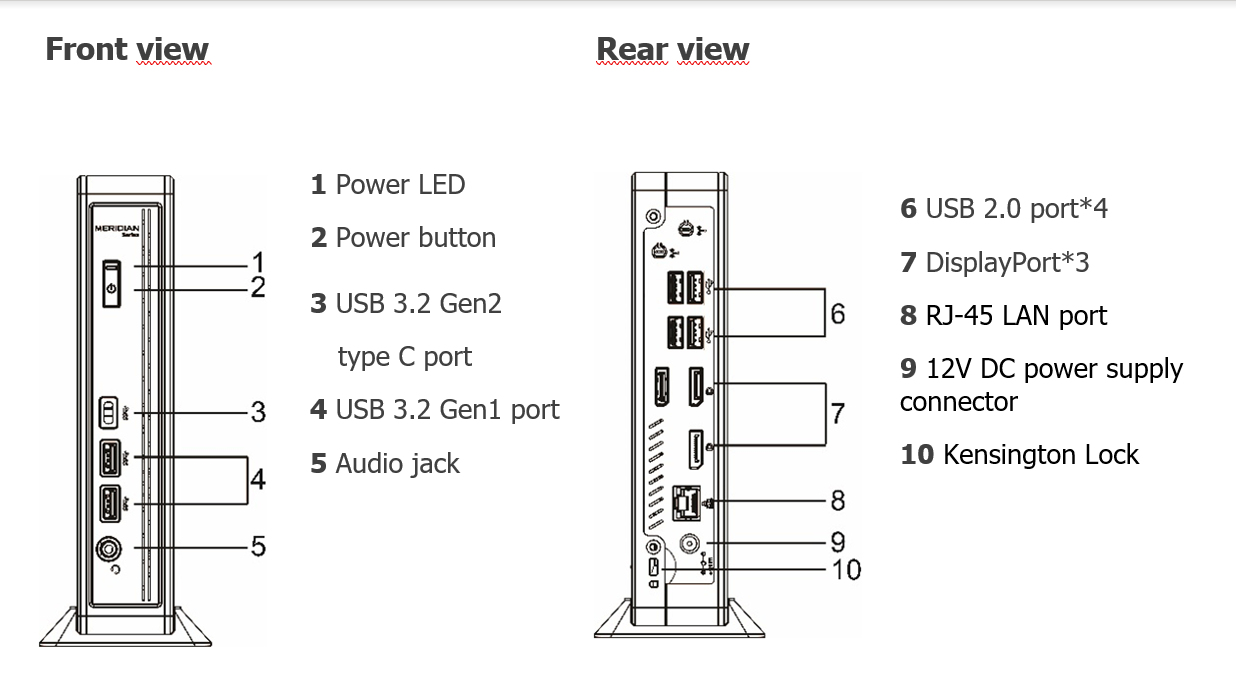 |
|
| Connecting the monitor (Display Port) Connect the DP cable of monitor to video port (7) on the rear of the device. |
|
| Before connecting be sure that monitor is power off. | |
| Connecting the LAN Cable Connect the RJ45 Ethernet Cable to the LAN port (8) on the rear of the device. |
|
| Connecting USB peripherals USB peripherals can be connected both on the front panel: USB 3.2 Gen2 type C port (3) and USB 3.2 Gen1 port (4), or on the rear panel USB 2.0 (6). |
|
| Connecting the power supply Plug the connector of the external power supply into the connector (9). It automatically senses 110 and 240VAC power sources. |
|
| Powering on your device To power the device on, use the Power on button (2). GREEN light means the device is powered on. A few seconds after the power on, the startup sequence will appear on the monitor. Depending on the device configuration, the sequence may take up to a minute to complete. After this phase is completed, please follow the instructions shown on the display to complete the basic configuration. |
|
Default Username and Password (Case sensitive) |
| ThinOX | Win10 IoT | |
|---|---|---|
| Administrator | ||
| Username | -- | Admin |
| Password | -- | Admin |
| User | ||
| Username | -- | User |
| Password | -- | User |